Manage Geofencing
This guide walks you through the steps of Managing Geofencing.
Navigate to the Geofencing page in the Dashboard
- Select 'Geofencing' from the Sidebar.
- This opens the Geofencing page.
How to add a Location
- Click on the Add Location button, in the top right corner.
- This opens a modal where you can enter the details of the location.
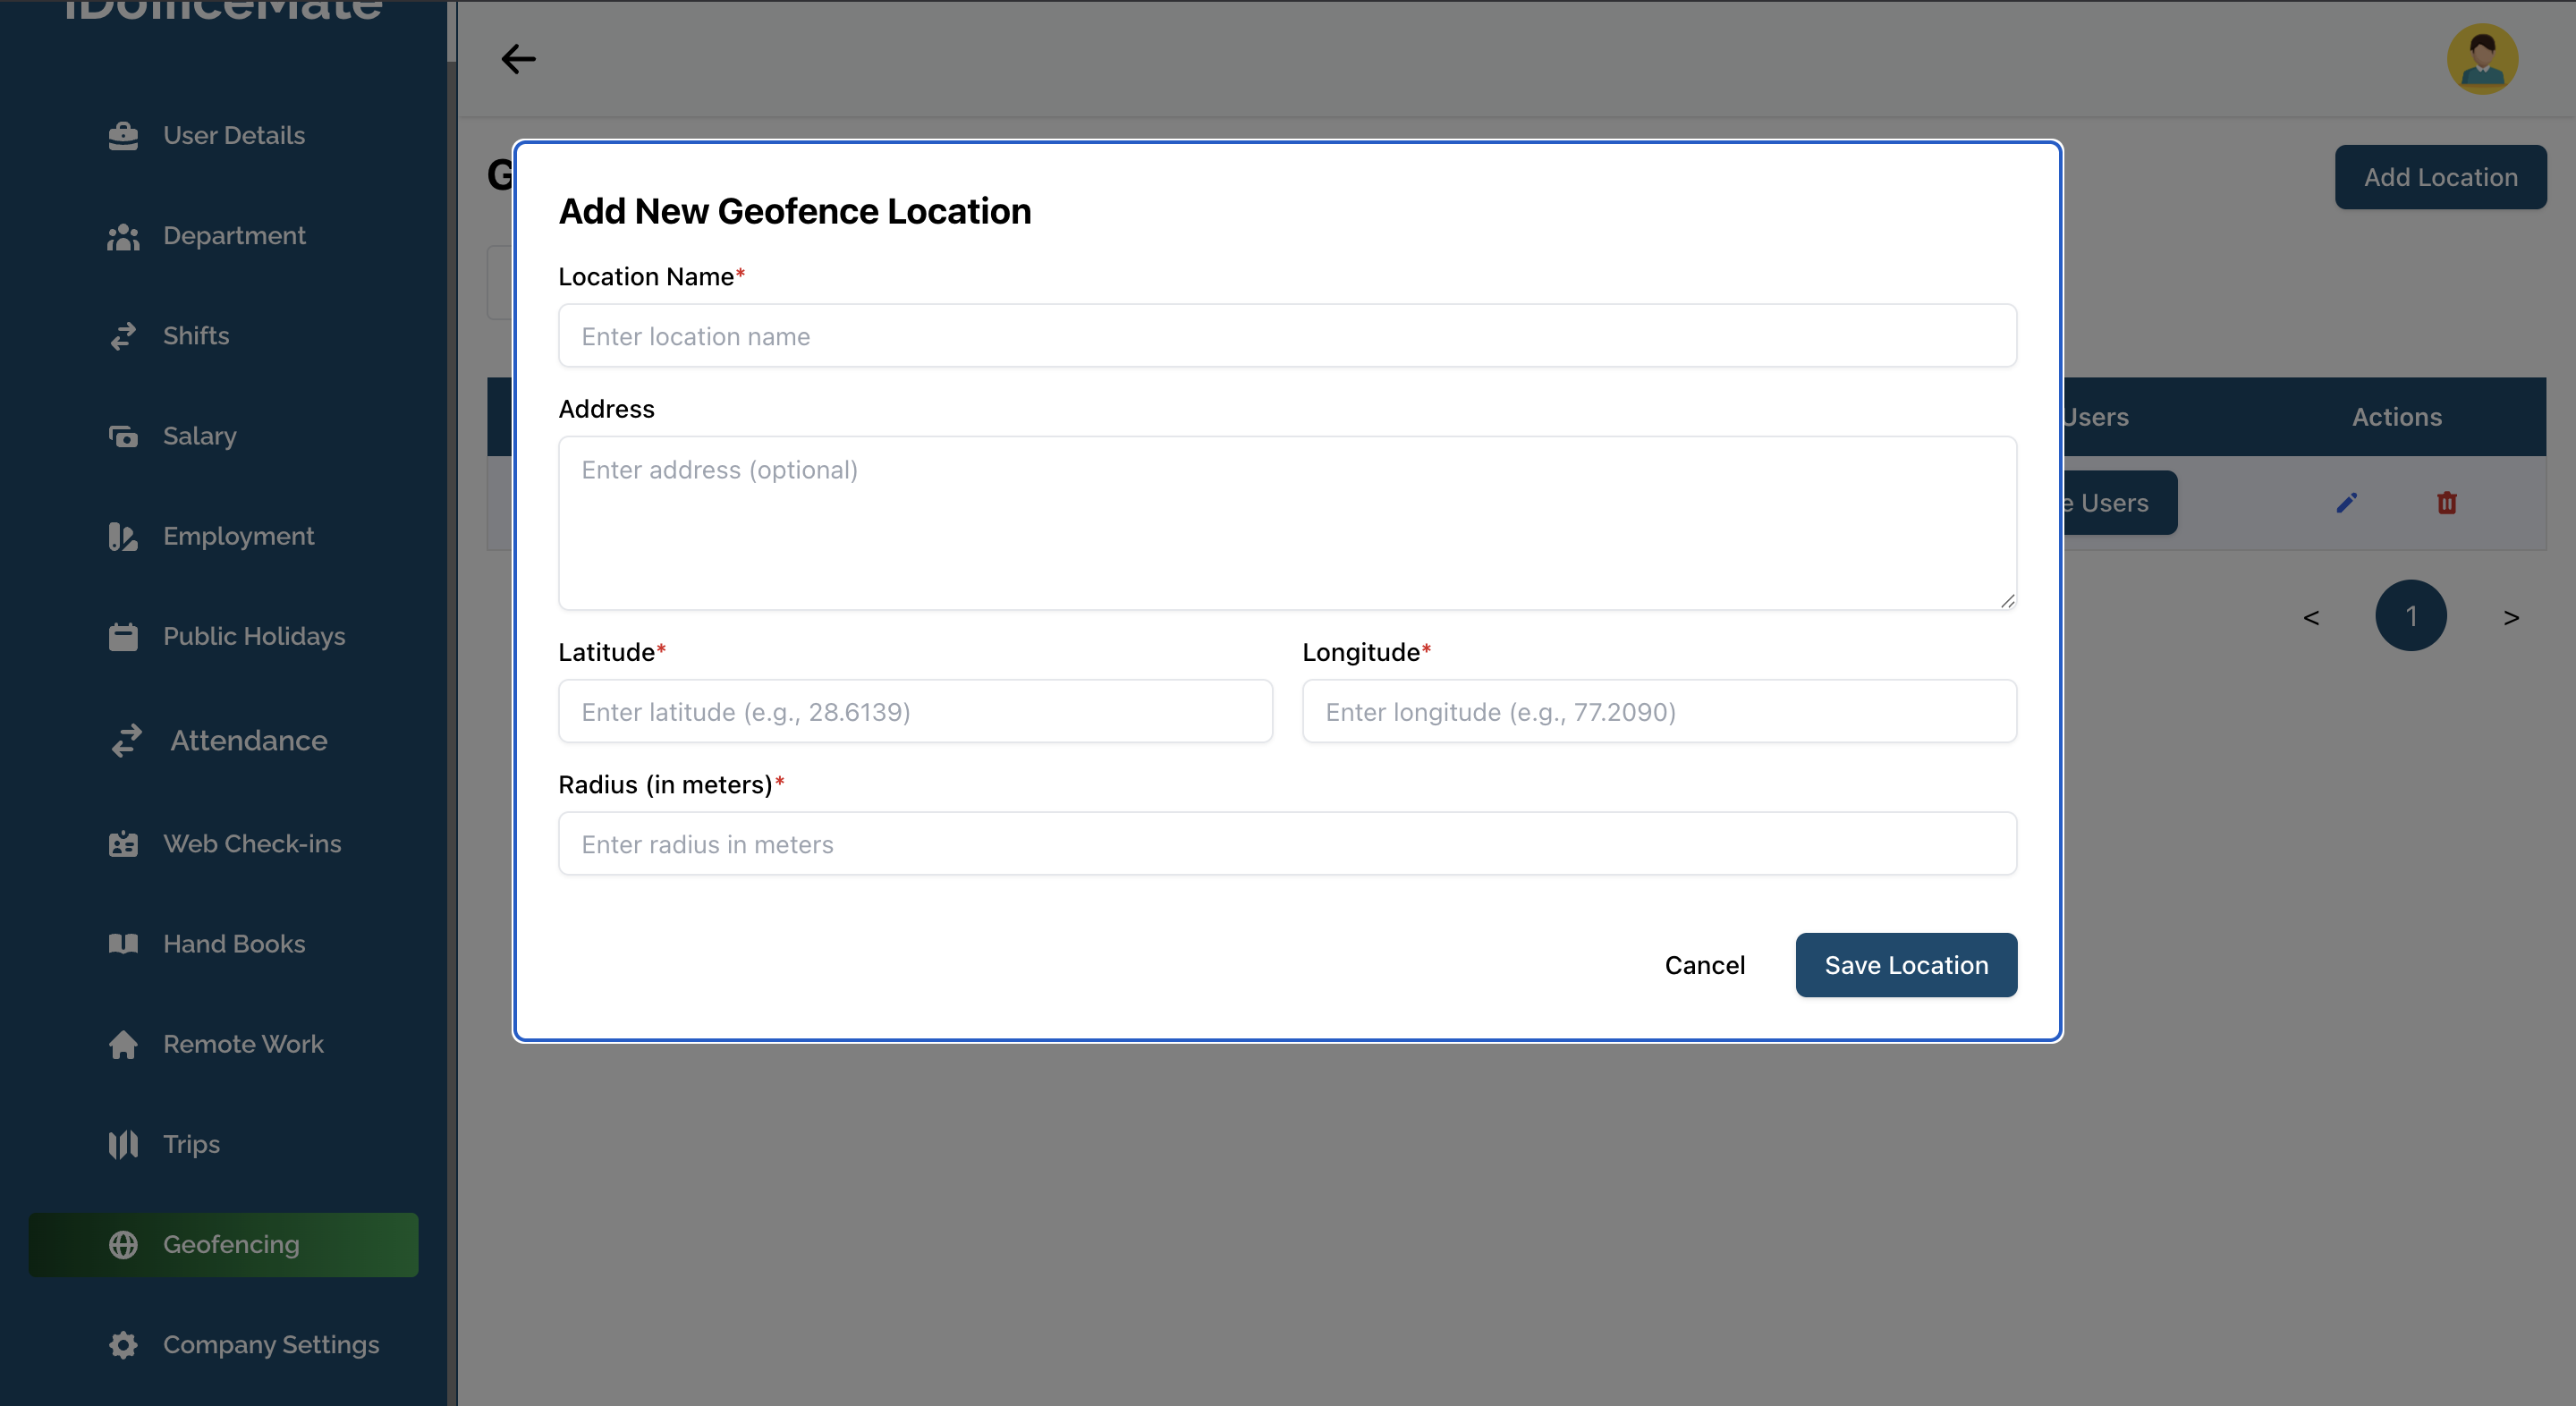
- Fill in the Location Name, Latitude, Longitude and Radius fields.
- You can also optionally add an Address for the location.
- Lastly, click Save Location to add the location.
How to edit a Location
- Click on the Pencil button in the Actions column on a Location Row.
- This opens a modal pre-filled with the location's current details.
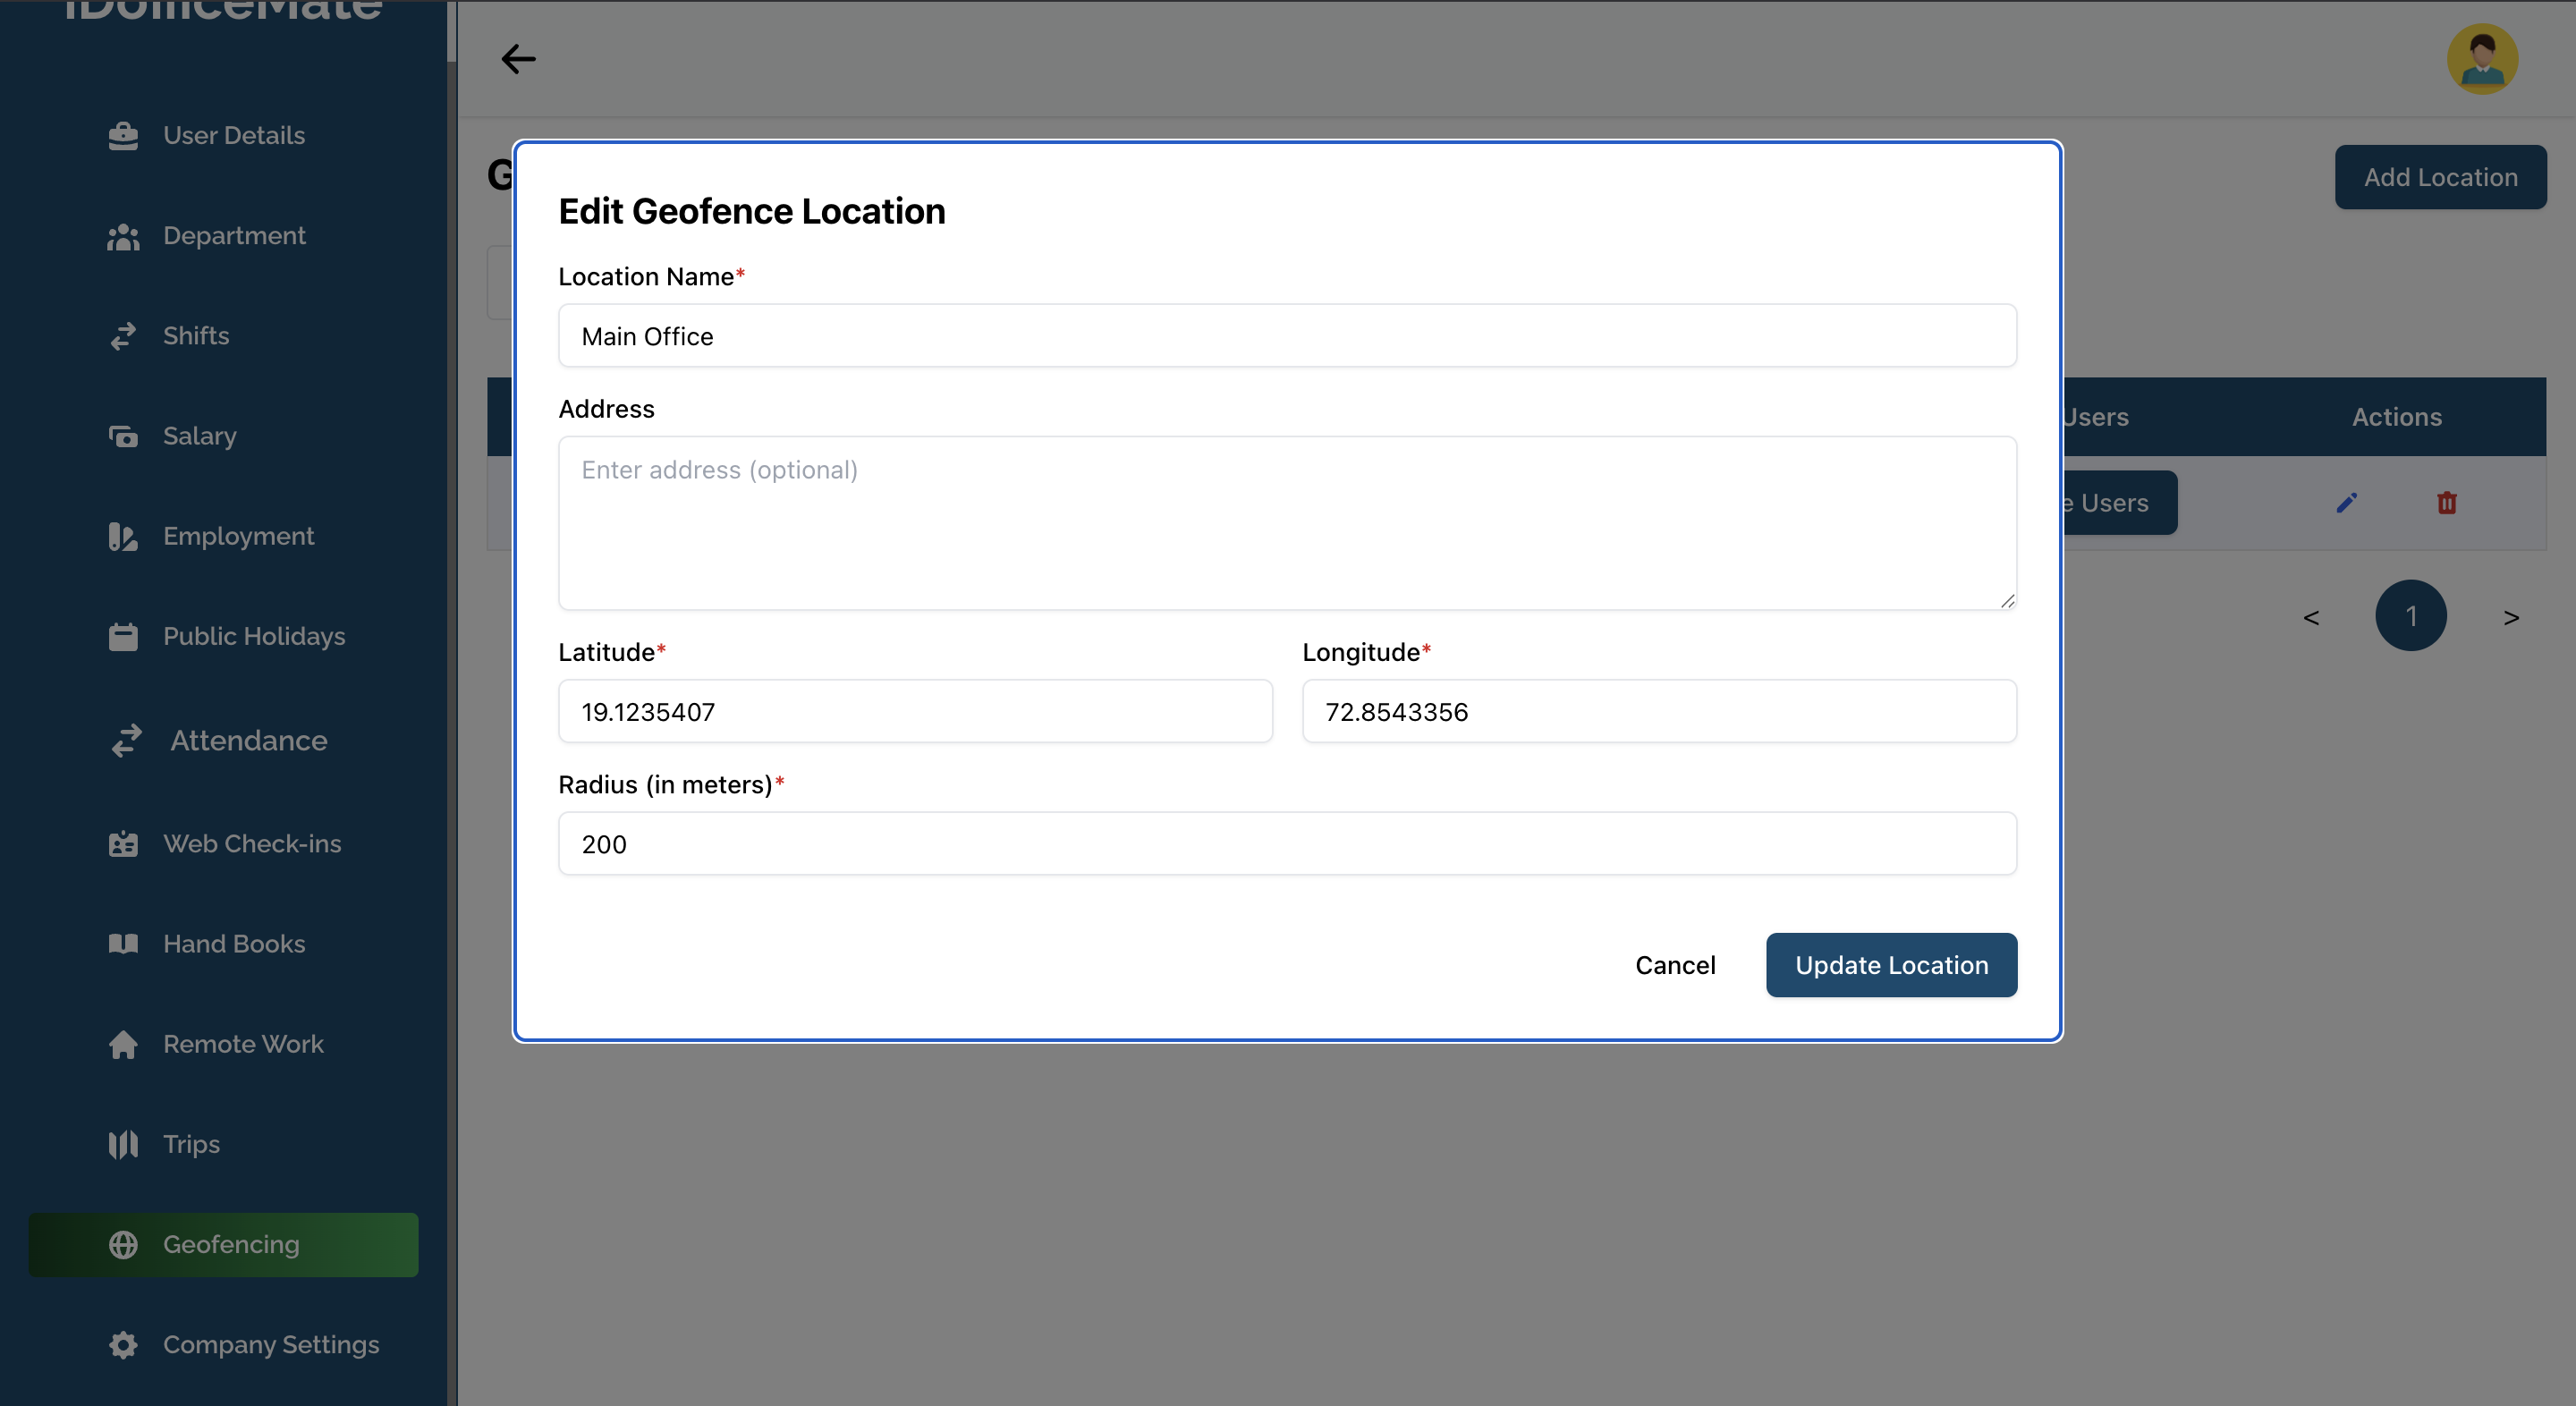
- Make the necessary changes and click Update Location to update the location.
How to add or remove users from a Location
- Click on the Users button in the Manage Users column on a Location Row.
- This opens a modal where you can add or remove users from the location.
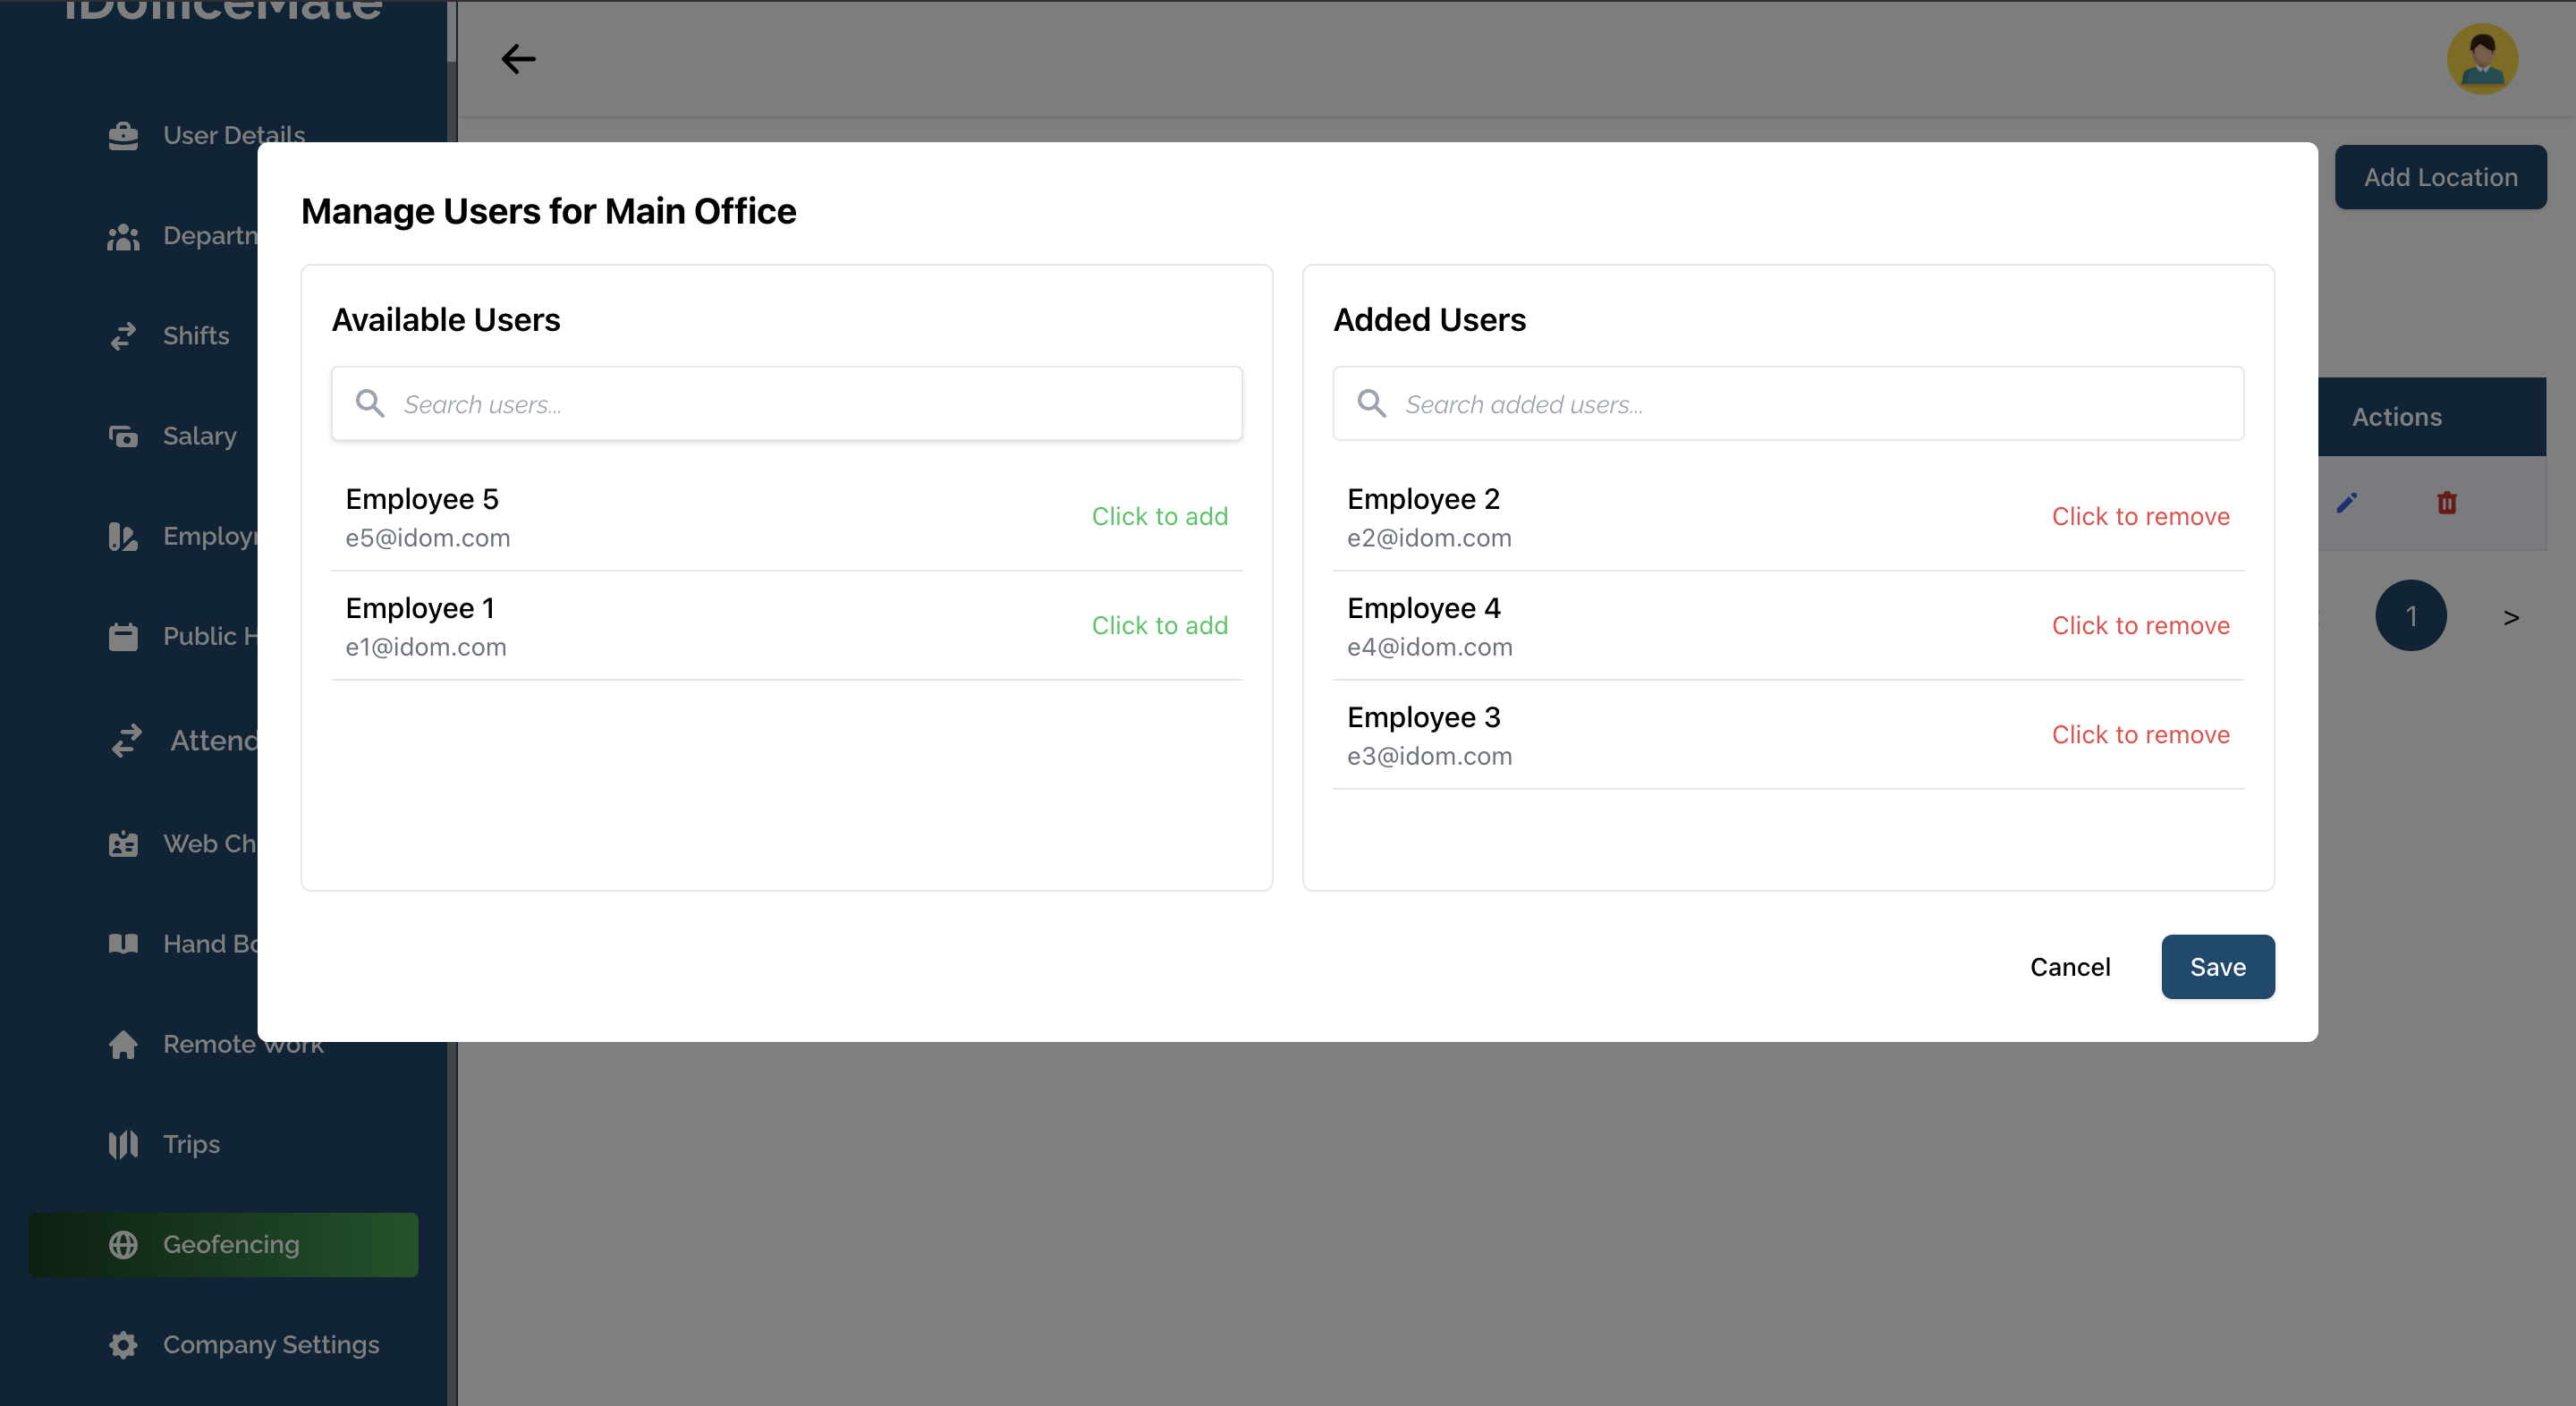
- On the left side, you will see a list of users not assigned to the location. Use the search bar to find users and click anywhere on the user row to include them in the location. Clicking on a user row will immediately move that user to the right side.
- On the right side, you will see a list of users currently assigned to the location. Click anywhere on a user row to remove them from the location. Clicking on a user row will immediately move that user back to the left side.
- Lastly, click Save to update the user assignments for the location.