Add & Edit Tax Types
This guide provides an overview of how to manage tax types. It covers adding and editing tax types in the Billing application.
Navigate to Tax Types in the Billing Application
- Select 'Taxes' from the Sidebar, under Masters.
- This opens the 'Taxes' page.
How to Create a Tax Type
-
Navigate to the Tax Type Creation page
- In the Tax Types listing page, you will see a list of all tax types.
- Click on the Add Tax Type button at the top right corner.
-
Fill in the Tax Type Details
-
-
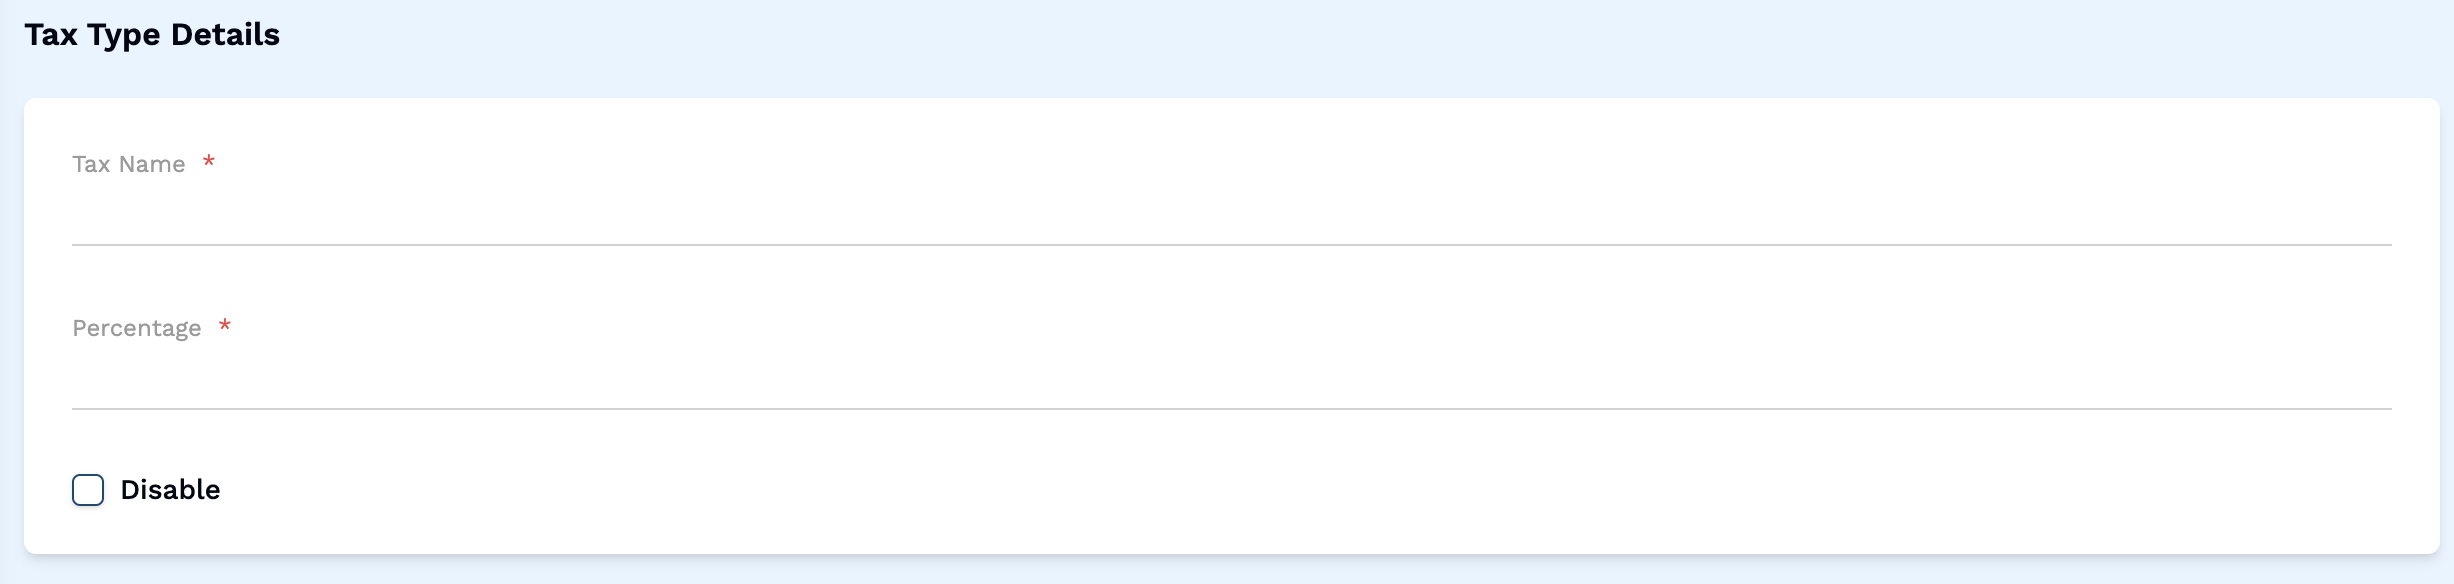
In the Tax Type creation page, you will see a form to add a new tax type.
-
Fill in the required details such as Tax Name and Percentage.
-
Optionally, you can choose to Disable the tax type by checking the Disable checkbox.
-
note
You will not be able to change the Percentage of a tax type once it has been created. A tax type cannot be deleted if it has been used in the Customer Master or in an invoice.
-
-
Review and Submit Tax Type
- Before submitting the tax type details, review all the information to ensure accuracy.
- Once you are satisfied with the tax type details, click on the Save button to save the tax type.
How to Edit a Tax Type
-
Navigate to the Tax Type Listing Page
- In the Tax Types listing page, you will see a list of all tax types.
- Click on a Tax Type to open the edit page.
-
Update the Tax Type Details
- In the Tax Type edit page, you can update the details of the tax type.
- Make the necessary changes to the Tax Type Name.
- You can optionally disable the tax type by checking the Disable checkbox.
-
Review and Submit Tax Type Changes
- Before submitting the changes, review all the information to ensure accuracy.
- Once you are satisfied with the tax type details, click on the Save button to save the changes.