Add, Edit & Delete Categories
This guide provides an overview of how to manage categories. It covers adding, editing, and deleting categories in the Billing application.
Navigate to Categories in the Billing Application
- Select 'Categories' from the Sidebar, under Masters.
- This opens the 'Categories' page.
How to Create a Category
-
Navigate to the Category Creation page
- In the Categories listing page, you will see a list of all categories.
- Click on the + Category button at the top right corner.
-
Fill in the Category Details
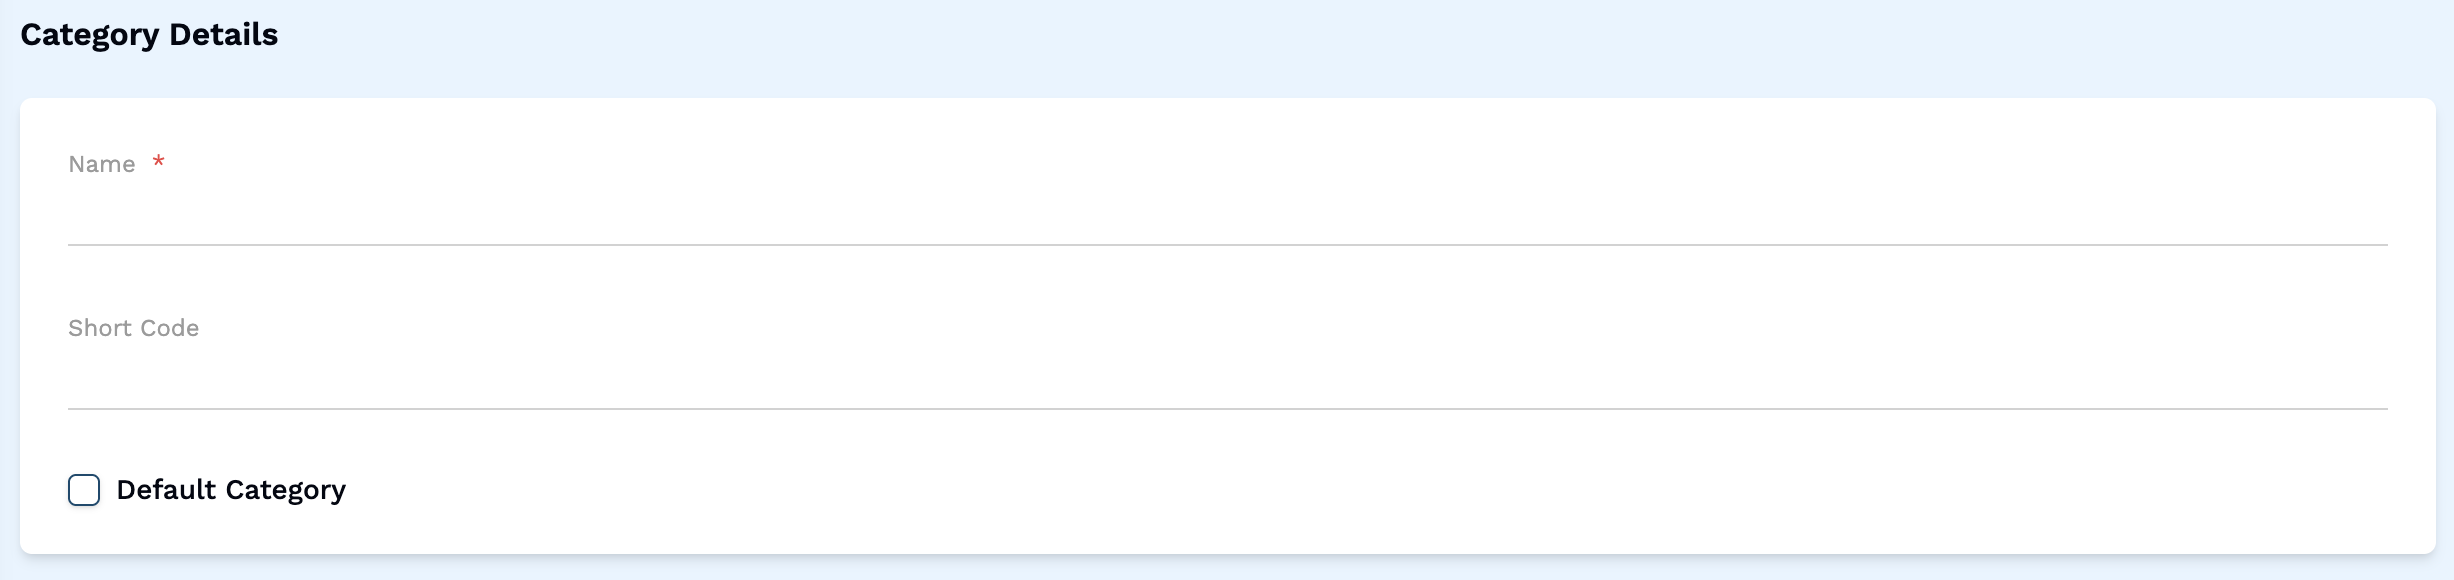
- In the Category creation page, you will see a form to add a new category.
- Fill in the required details such as Category Name.
- Optionally, you can enter a Short Name, and choose whether to make it a Default category by checking the respective checkbox.
-
Review and Submit Category
- Before submitting the category details, review all the information to ensure accuracy.
- Once you are satisfied with the category details, click on the Save button to save the category.
How to Edit a Category
-
Navigate to the Category Listing Page
- In the Category listing page, you will see a list of all categories.
- Click on a Category to open the edit page.
-
Update the Category Details
- In the Category edit page, you can update the details of the category.
-
Review and Submit Category Changes
- Before submitting the changes, review all the information to ensure accuracy.
- Once you are satisfied with the category details, click on the Update button to save the changes.
How to Delete a Category
-
Navigate to the Category Listing Page
- In the Category listing page, you will see a list of all categories.
- Click on the 3 dots icon in the Action column of the category you want to delete.
- From the dropdown menu, select Delete.
-
Confirm Deletion
- A confirmation dialog will appear asking you to confirm the deletion.
- Click on Delete to confirm and delete the billing item.