Add & Edit Customers
This guide provides an overview of how to manage customers. It covers adding and editing customers in the Billing application.
Navigate to Customers in the Billing Application
- Select 'Customers' from the Sidebar, under Masters.
- This opens the 'Customers' page.
How to Create a Customer
-
Navigate to the Customer Creation page
- In the Customers listing page, you will see a list of all customers.
- Click on the Add Customer button at the top right corner.
-
Fill in the Customer Details
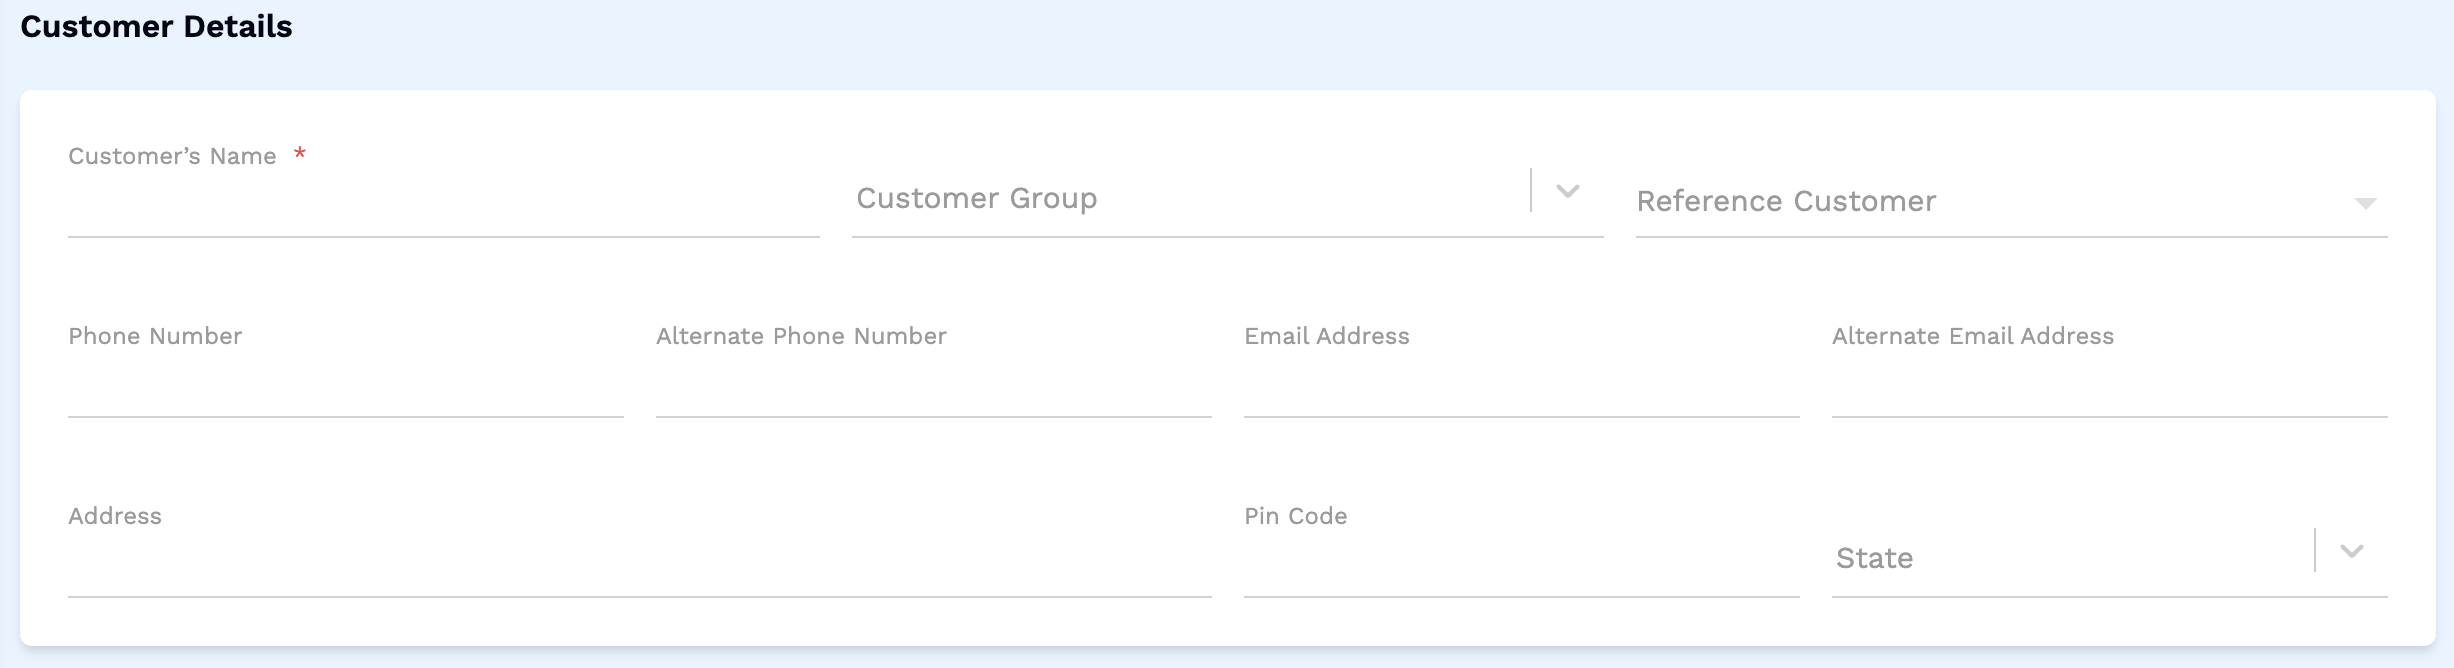
- Here, only Customer Name is a required field. The Email, Phone Number, Address, etc. fields are optional.
-
Fill in the Details
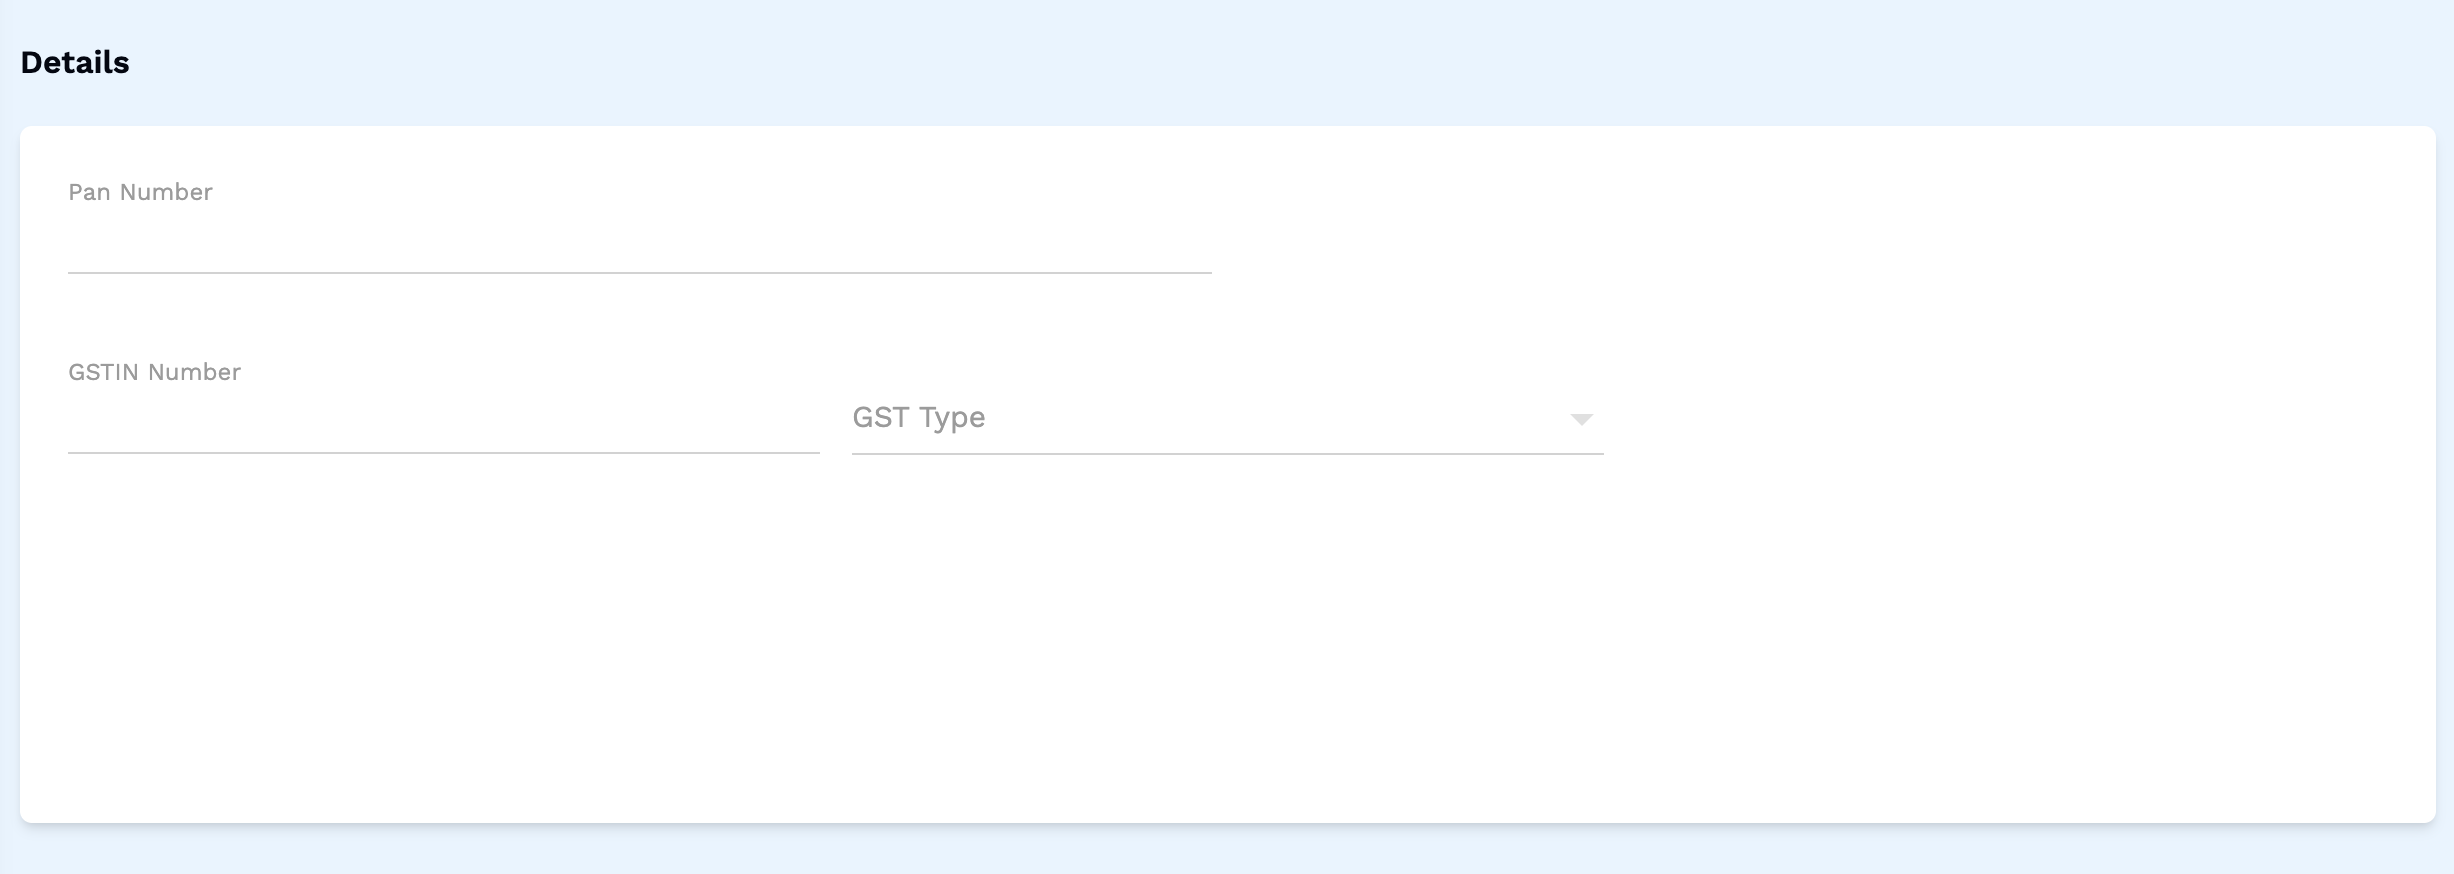
- You can optionally fill in the Pan Number, GSTIN Number and GST Type.
-
Add Applicable Taxes and Interstate Taxes

- Clicking on Add Taxes adds the dropdown to select the tax
-
Add Files
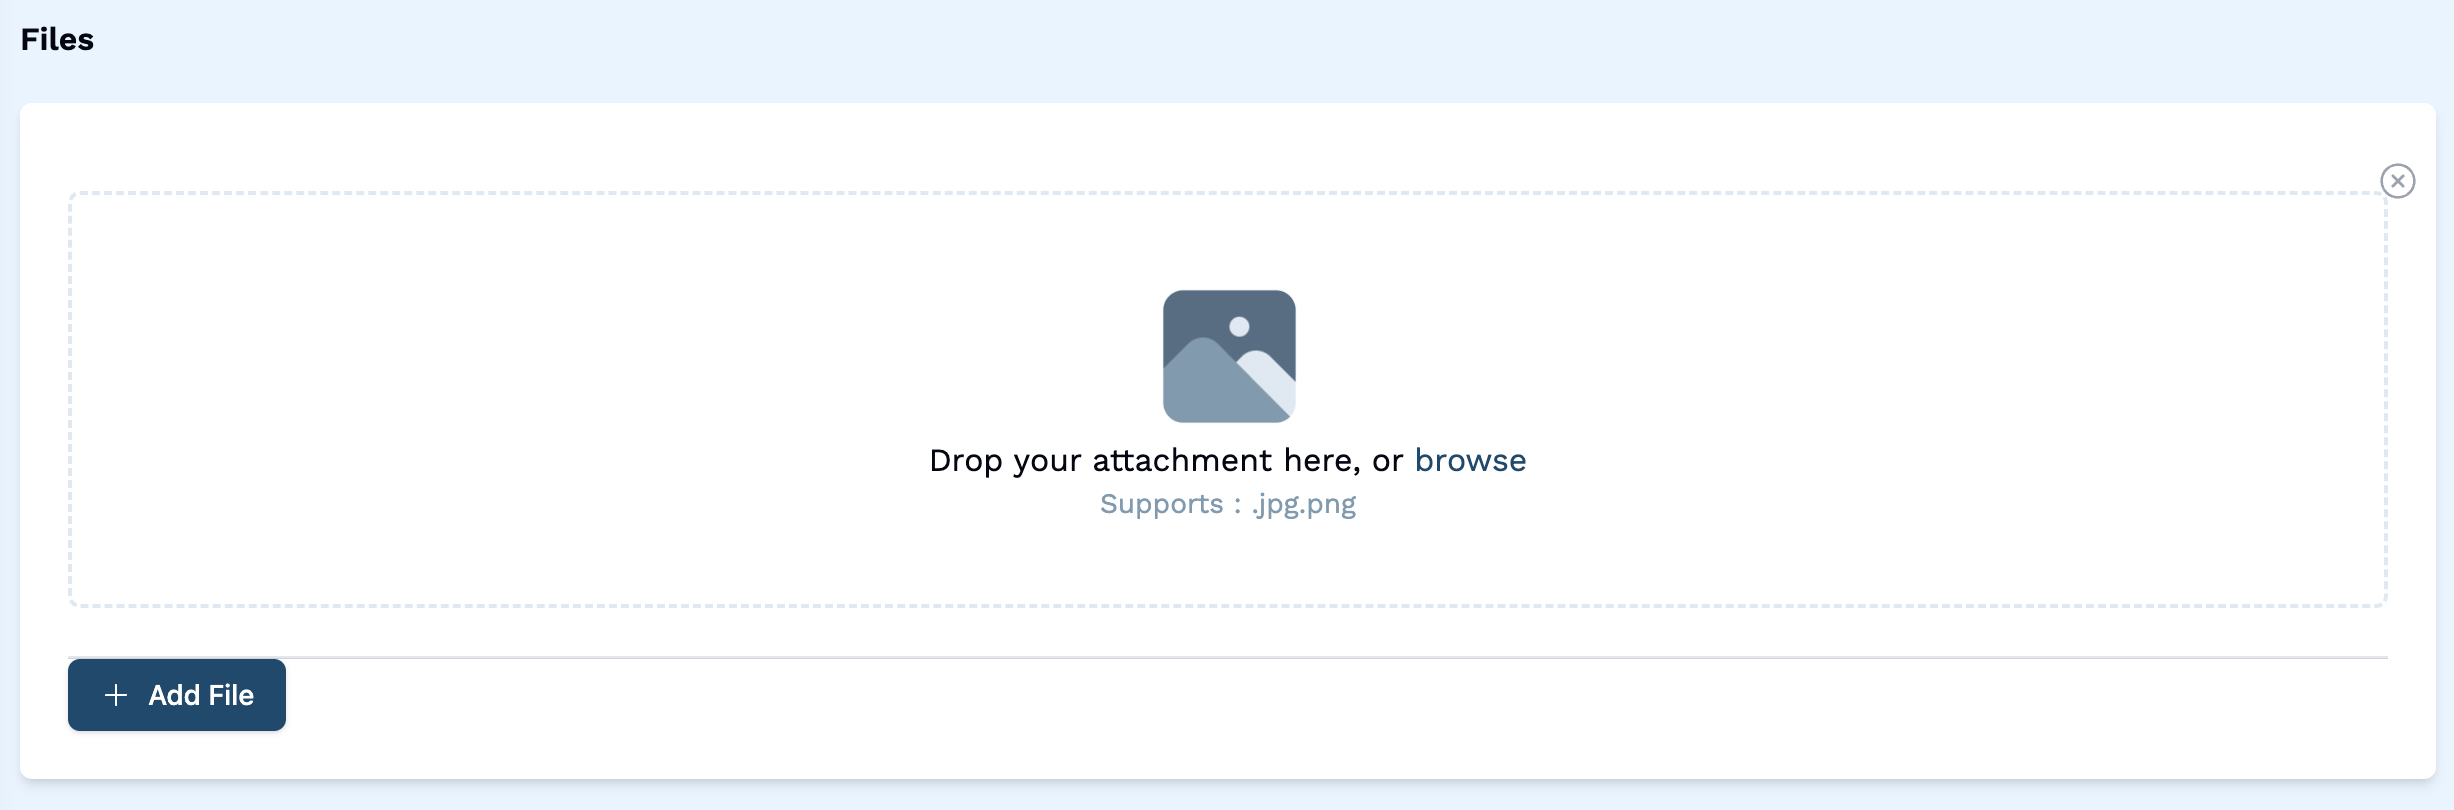
- You can optionally attach files related to the customer, by clicking on the Add File button.
-
Fill in Terms and Conditions
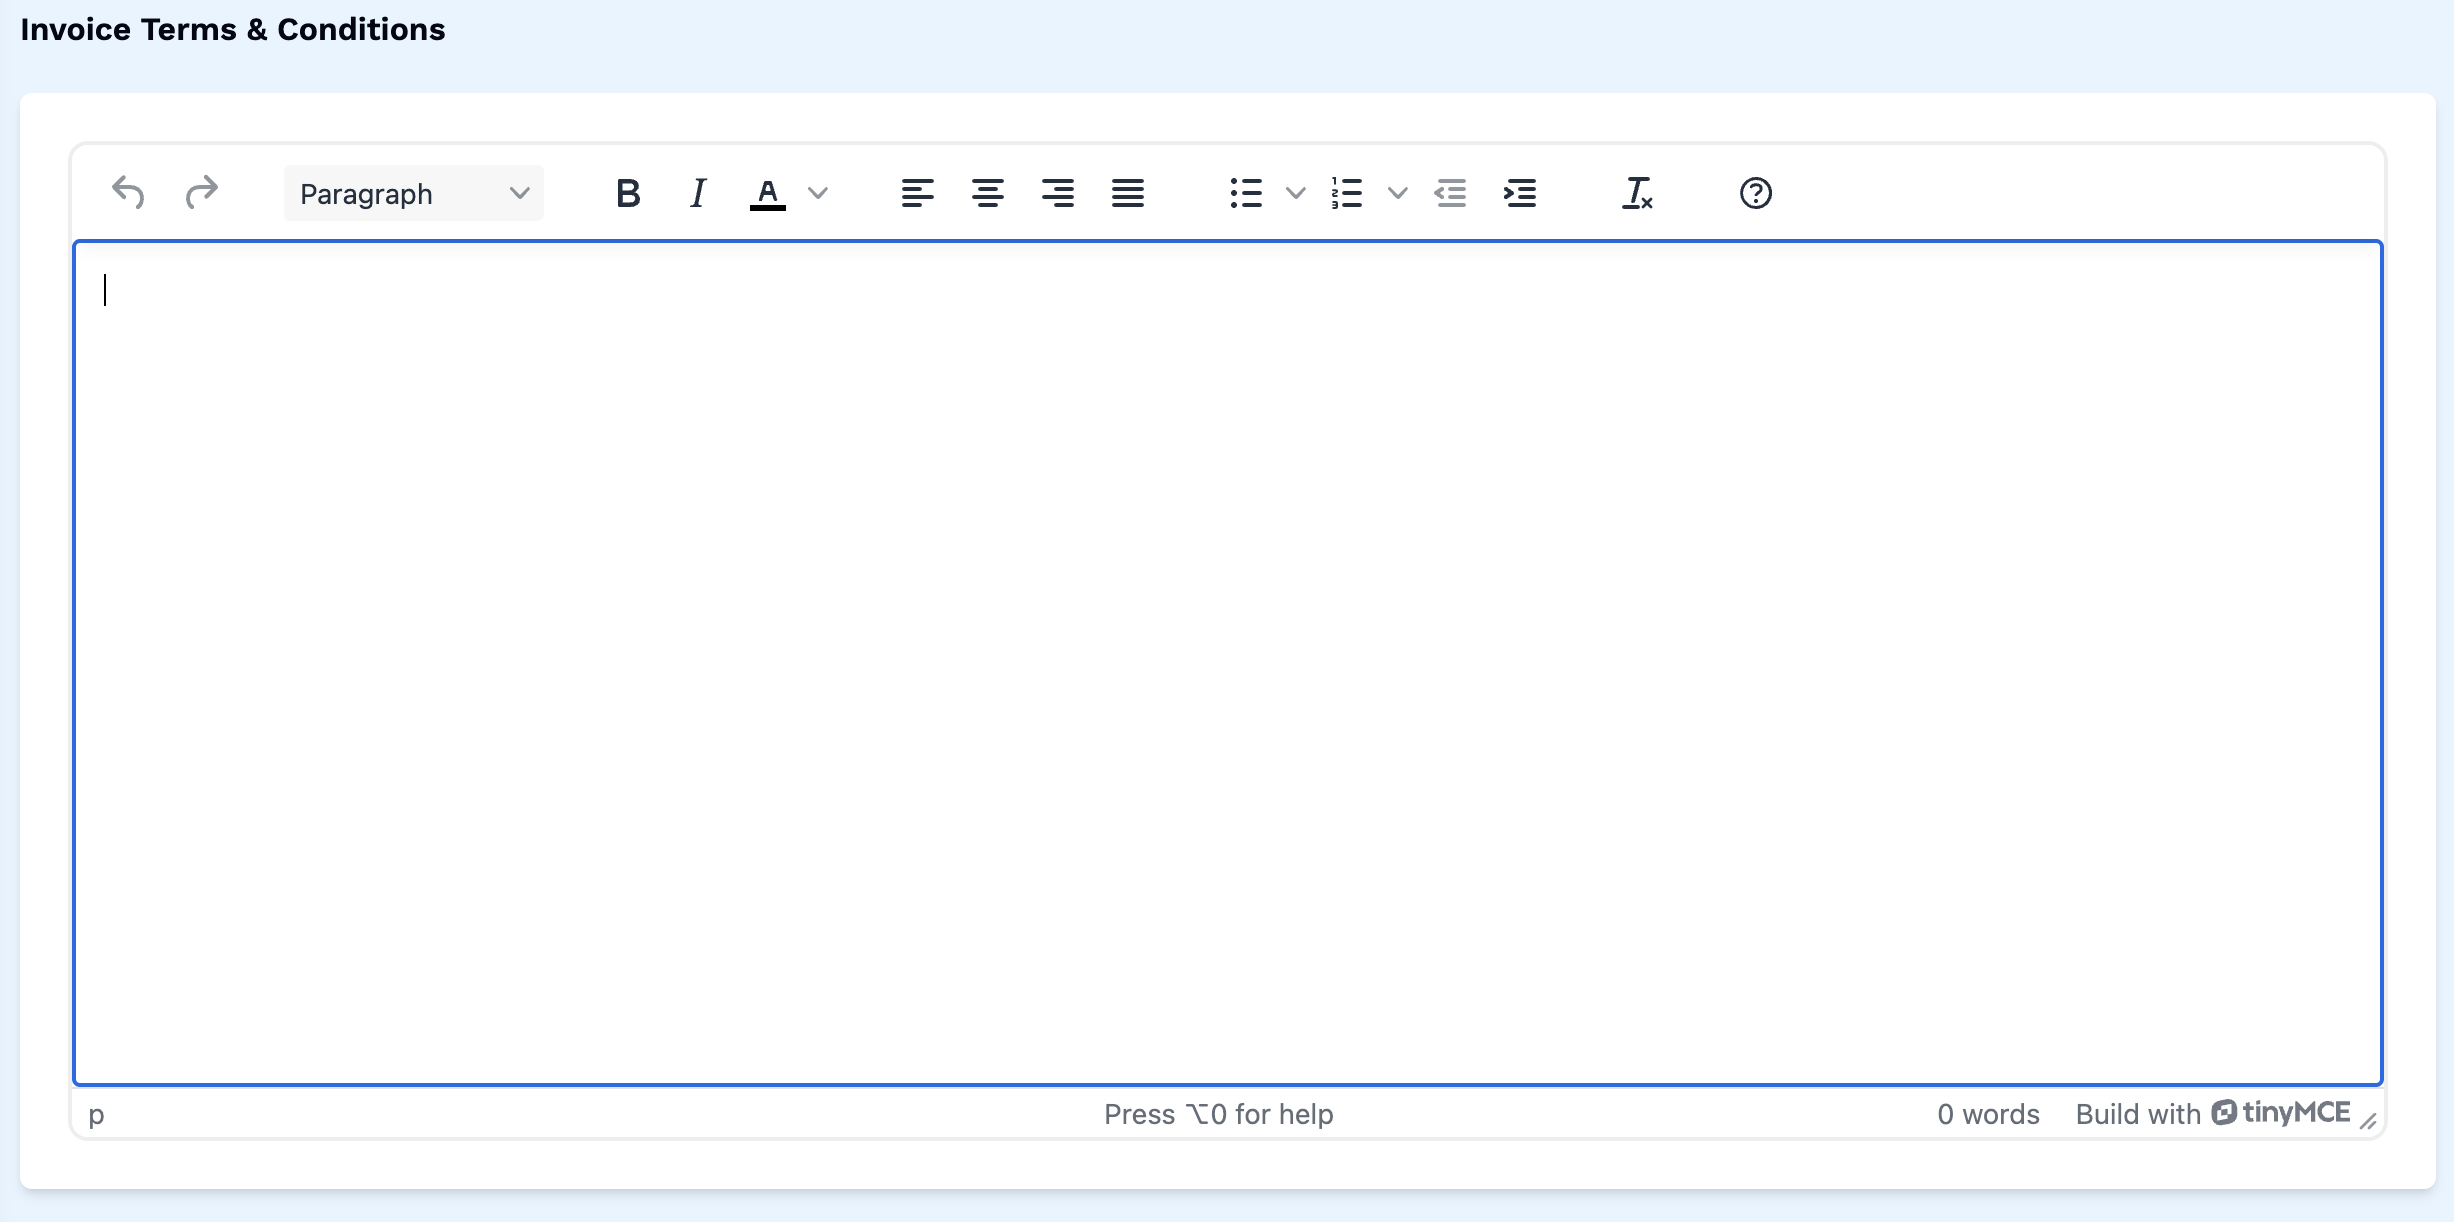
- In the Rich Text Editor, you can format the terms and conditions as needed.
-
Fill in Additional Details
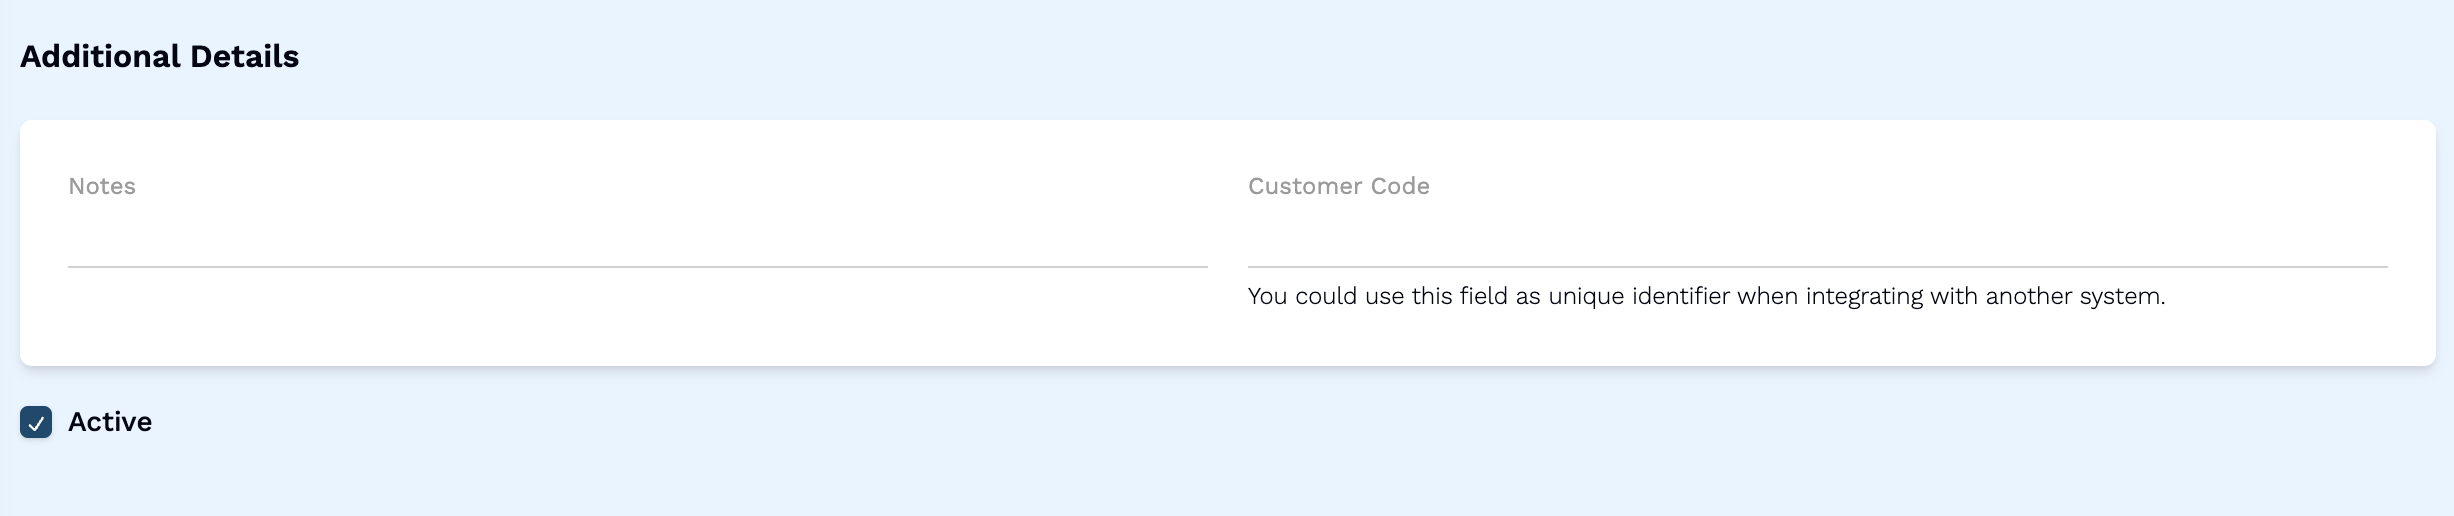
- You can optionally fill in the Notes and Customer Code
- Check the Active checkbox if you wish to mark the customer as active.
-
Review and Submit Customer
- Before submitting the customer details, review all the information to ensure accuracy.
- Once you are satisfied with the customer details, click on the Save button to save the customer.
How to Edit a Customer
-
Navigate to the Customer Edit Page
- In the Customers listing page, click on the 3 dots button next to a customer.
- Select Edit from the dropdown menu.
- This opens the page to edit the customer details.
-
Follow the Customer Creation Steps
- Follow the same steps as you would when creating a new customer.
- Make the necessary changes to the customer details.
-
Save Your Changes
- Once you have made the necessary changes, click on the Save button to update the customer.